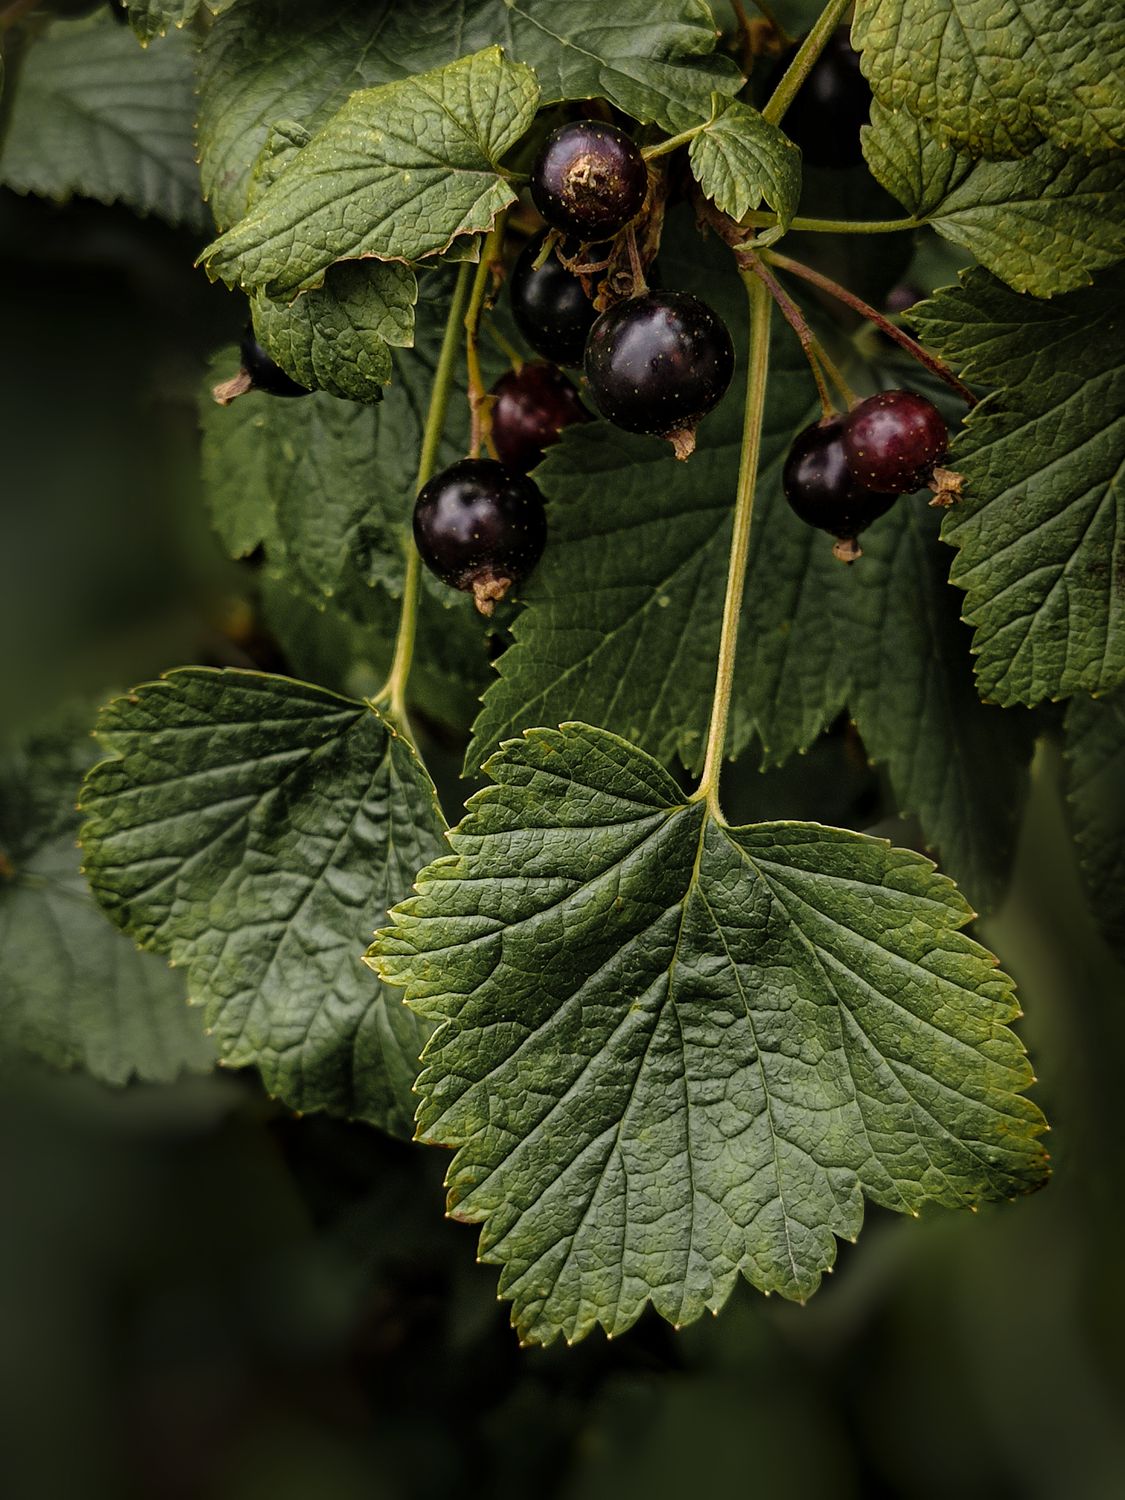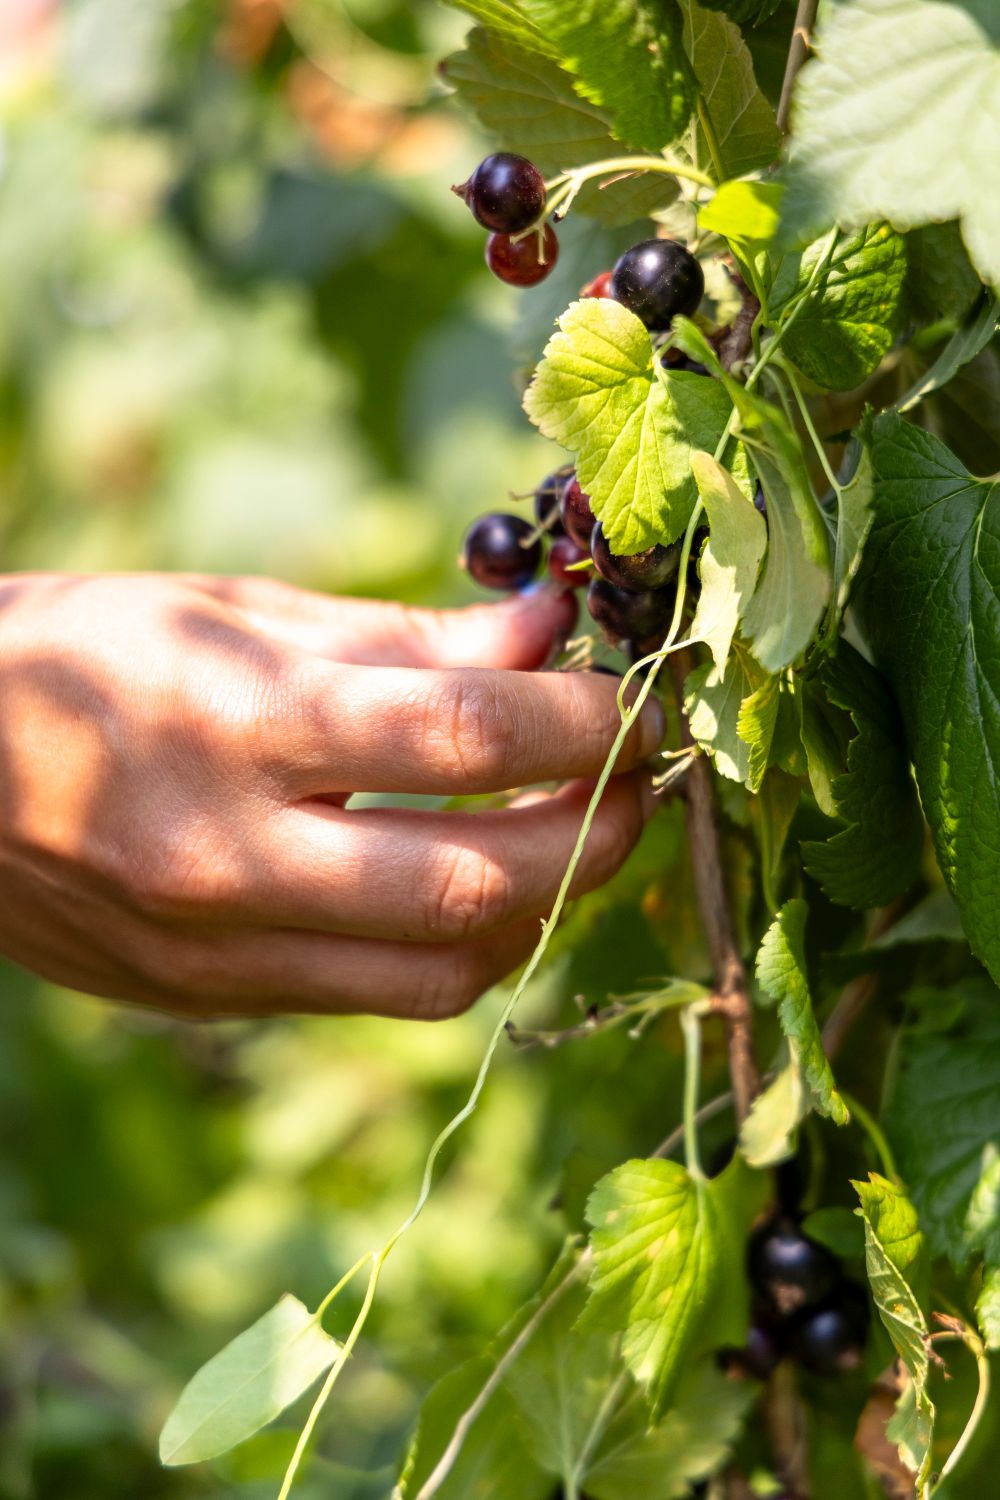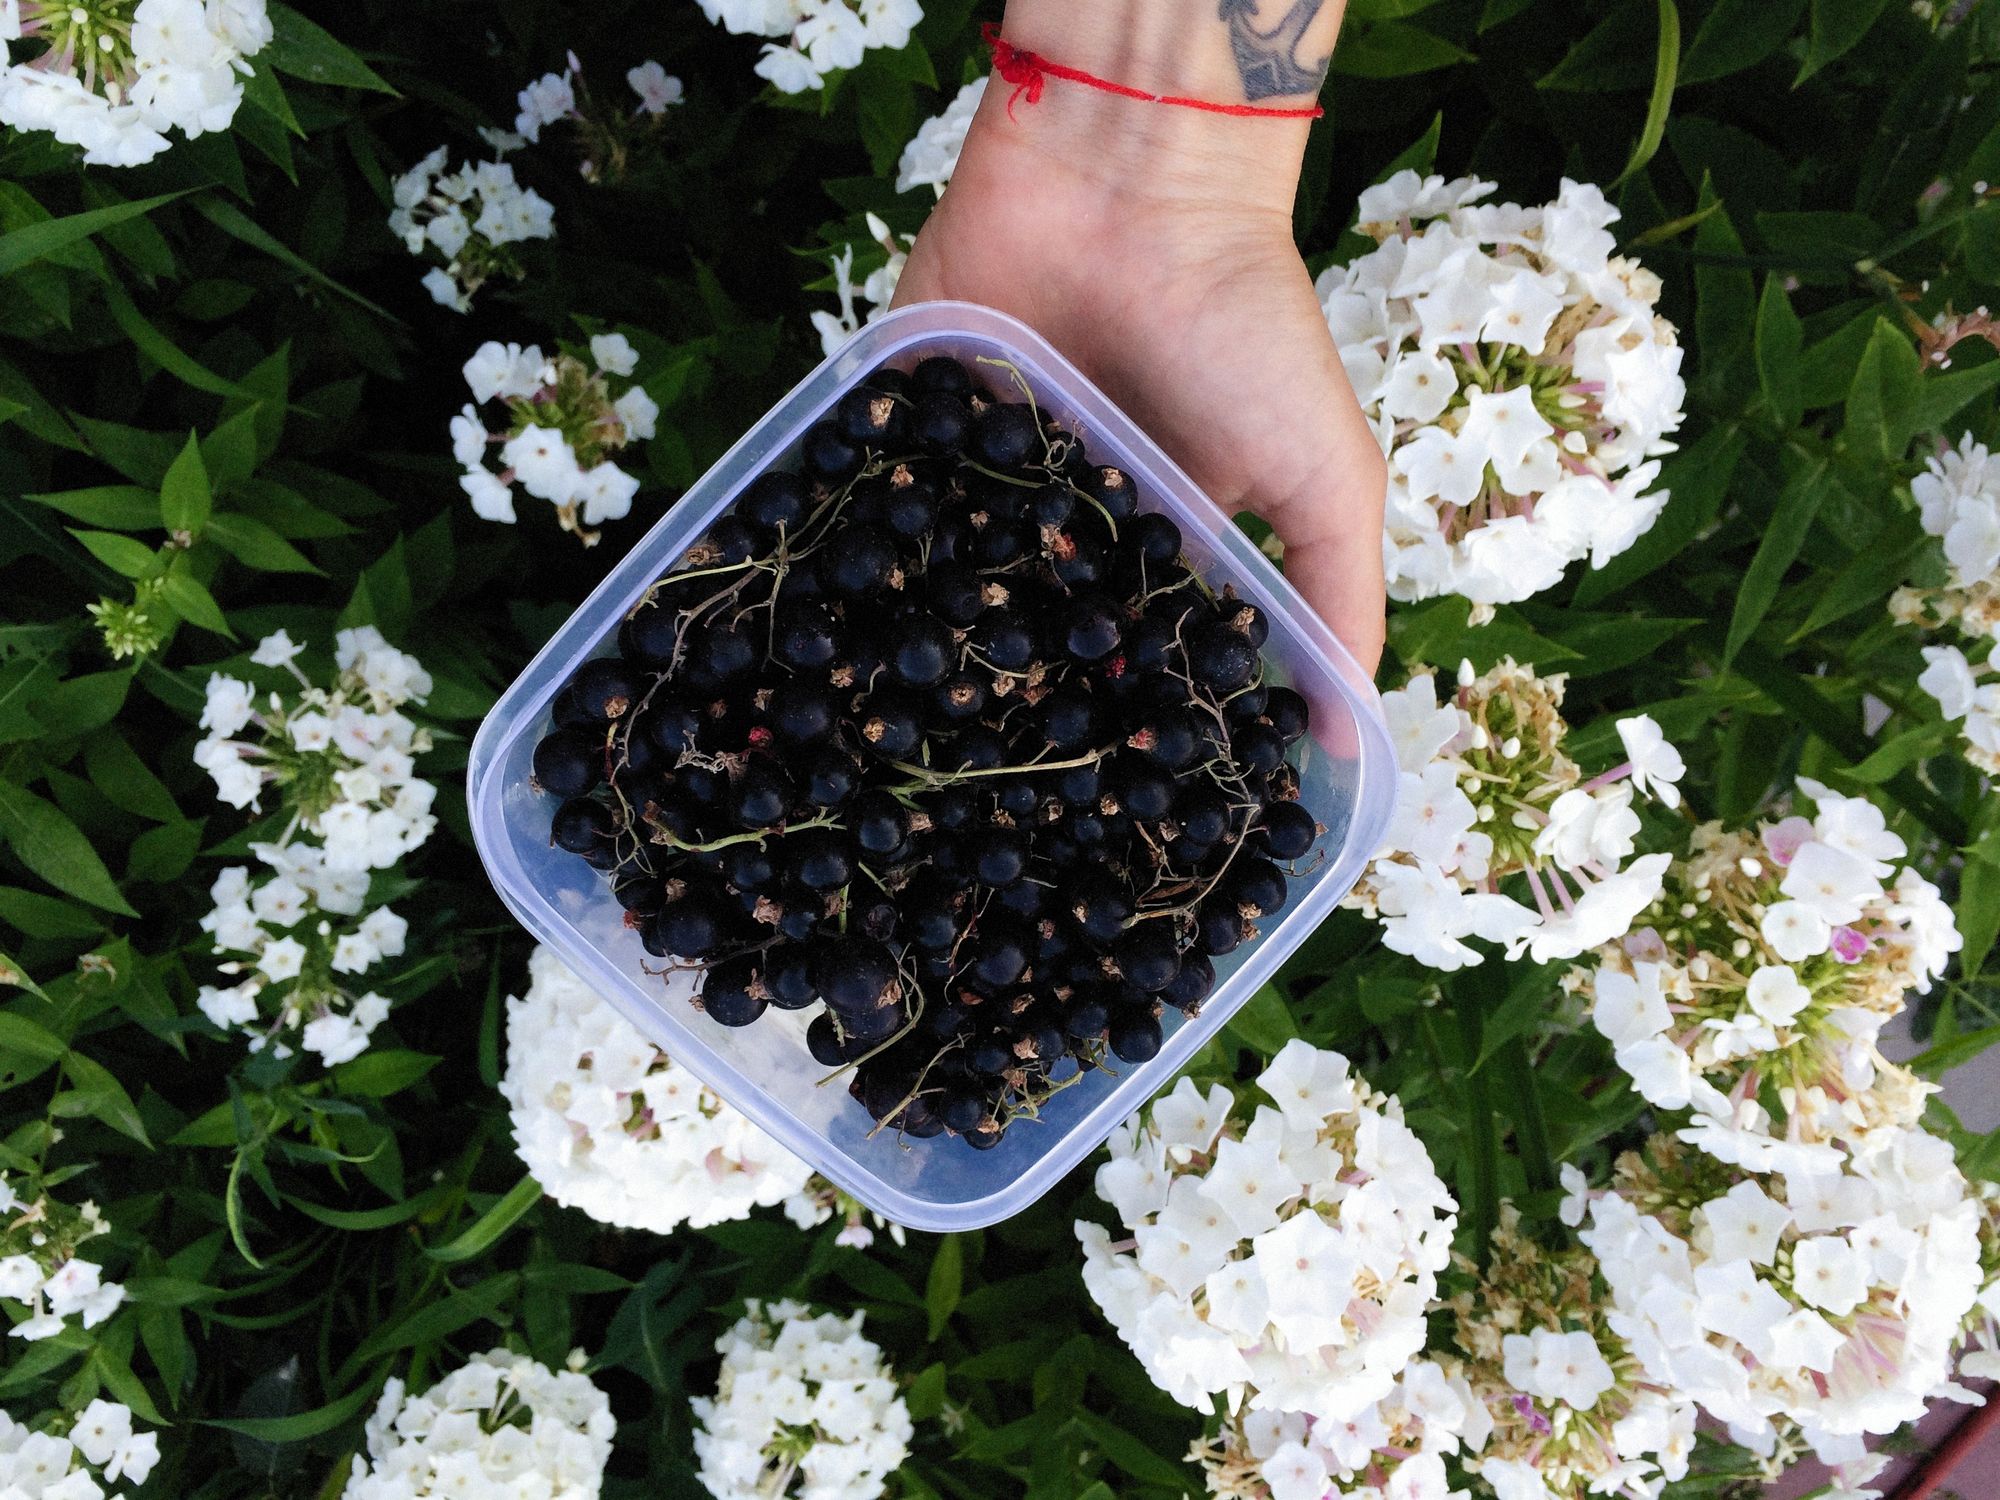
If you only ever make one jam in your life, let it be blackcurrant. I grow my own bushes, and every summer there comes a morning when the fruit is so glossy and black that the whole patch smells faintly resinous and tart, almost medicinal, the moment you brush past it. That smell is the signal. Within a day or two I'm out there with a colander, and by teatime the kitchen is full of that deep, jammy fug that I'd happily bottle as a candle. The very best part? Blackcurrant jam is genuinely one of the easiest preserves you can make, and I'll explain exactly why below.
Why blackcurrant jam is so forgiving
Pectin is the magic that makes jam set, and blackcurrants are absolutely loaded with it. They're also high in natural acid, which is the other half of the setting equation. That means you don't need any shop-bought pectin, no jam sugar, no lemon juice tricks. Plain fruit and plain sugar will set beautifully on their own. For a first-time jam maker that takes most of the anxiety out of it. If you've ever wrestled a runny strawberry jam, you'll find blackcurrants almost suspiciously well-behaved.
There is one quirk worth knowing, and it's the thing most people get wrong: blackcurrant skins are tough, and sugar toughens them further. So the golden rule is to soften the skins in water first, before the sugar ever goes near the pan. Skip that and you can end up with sweet fruit wrapped in little leathery jackets. Do it properly and the skins go soft and tender. More on that in the method.
Ingredients and equipment
The ratio I use is simple: equal weights of fruit and sugar, plus a splash of water to get things going. Scale it up or down as your harvest allows.
| Ingredient | Amount | Notes |
|---|---|---|
| Blackcurrants | 1 kg | Topped, tailed and rinsed |
| Granulated sugar | 1 kg | Ordinary sugar is fine — no need for jam sugar |
| Water | 300 ml | To simmer and soften the skins |
For equipment you'll want a large, heavy-based pan (a proper preserving pan is lovely but a big saucepan works), a few clean jars with lids, a long-handled wooden spoon, and a couple of small plates chilled in the freezer for testing the set. A sugar thermometer is handy but not essential.
How to make blackcurrant jam, step by step
Before you start, get your jars ready. Sterilising matters — it's what stops mould and lets the jam keep for months rather than weeks.
- Sterilise the jars. Wash them in hot soapy water, rinse, then stand them on a tray in the oven at around 140°C (120°C fan) for about 15 minutes until completely dry. Simmer the lids in a pan of water. Keep everything warm until you fill it — hot jam into cold glass can crack it.
- Prep the fruit. Top and tail the currants by pinching off the little stalk and the dried flower end. It's a fiddly, meditative job; I do it in front of the radio. Give them a rinse and tip out any leaves.
- Soften the skins. Put the currants and the water into your pan and bring to a gentle simmer. Let them bubble away for 10–15 minutes until the skins are properly soft and the fruit has collapsed into a loose, dark mush. This step is non-negotiable — do it now, while there's no sugar in the pan.
- Add the sugar. Tip in all the sugar and stir over a low heat until every grain has dissolved. You shouldn't feel any grittiness on the bottom of the pan. Don't let it boil until the sugar is fully dissolved, or you risk a grainy, crystallised jam.
- Boil to setting point. Now turn the heat right up and bring it to a rolling boil — a proper, can't-stir-it-down boil. Keep it going for around 8–10 minutes. You're aiming for a setting point of about 104–105°C on a thermometer.
- Test the set. If you haven't got a thermometer, use the wrinkle test: take the pan off the heat, spoon a little jam onto one of your chilled plates, leave it 30 seconds, then push it with a fingertip. If the surface wrinkles, it's ready. If it stays runny, boil for another few minutes and test again.
- Pot up hot. Skim off any scum, then ladle the hot jam into your warm jars right to the top. Seal immediately with the lids. As they cool you'll often hear the satisfying little pop of the lids sealing.
Setting-point tips
Don't start your wrinkle test too early — you'll waste time and overcook nothing. But equally, don't boil on and on out of nerves, because overboiled jam turns stiff and loses that fresh, fruity flavour. Take the pan off the heat while you test, every time, so it isn't cooking on while you wait. With blackcurrants you usually hit setting point quickly, so stay close.
Why is my jam too runny?
Nine times out of ten it just didn't reach setting point — give it back to the pan and boil a little longer, then re-test. A runny set can also happen if you used underripe fruit, though with blackcurrants that's rare. Honestly, even a slightly soft set is delicious stirred into porridge or yoghurt, so don't despair.
Why is my jam too stiff?
That's usually overboiling, which drives off too much water. Next time, test earlier. For a too-stiff batch you've already made, you can gently warm it with a splash of water to loosen it, though it won't be quite the same. It's still wonderful on hot buttered toast.
Storing your jam
Properly sterilised and sealed, blackcurrant jam keeps in a cool, dark cupboard for up to a year — though mine never lasts that long. Once a jar's opened, keep it in the fridge and use it within a few weeks. Label your jars; you think you'll remember which batch is which, and you never do.
That's all there is to it. A morning's work, a kitchen that smells like summer, and a row of jars to see you through the dark months. There's nothing quite like opening one in January and getting that hit of high-summer blackcurrant. Happy jam-making — Ash.
More Currant and Jam Guides
If the jam pan is out anyway, my loganberry jam recipe uses the same core method on the year's best jam berry. Growing your own fruit for next year's batch? The complete blackcurrant growing guide covers everything from planting to the pruning trick most new growers miss, and if you're weighing up which currant to plant, blackcurrants vs redcurrants vs whitecurrants settles it.